How to Play Apple Music on Kodi Media Player
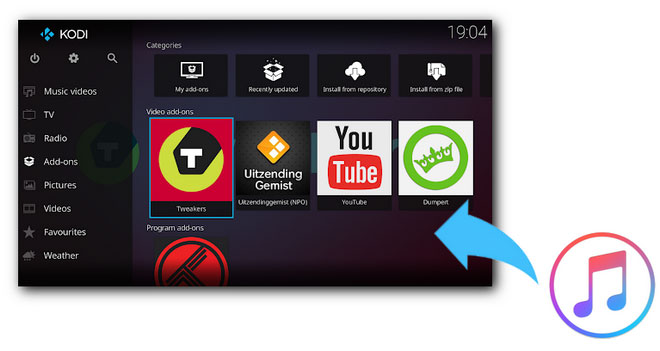
If you’re familiar with Kodi, you know how awesome it is. It allows you to stream a lot of music and movies. How about Apple Music? At present, it’s not possible to play Apple Music on Kodi. There is no available plugin for it but that shouldn’t get you down. This article will show you ways to play your Apple Music on Kodi.
Contents Guide Part 1. A Quick Look at KodiPart 2. Play Apple Music on Kodi with AMusicSoft Apple Music Converter.Part 3. Play Apple Music on Kodi Use iTunesPart 4. Play Apple Music on Kodi Use a Free Apple Music ConverterPart 5. Conclusion
Part 1. A Quick Look at Kodi
Most people like to watch TV and movies inside the Kodi app. The reason for that is because this app allows you to watch free content. You can also listen to music on it. Using the Kodi app is legal as long as you stay away from pirated content.
Kodi is an open-source home entertainment program. It has all the top add-ons or plugins as some would call it. These are the little squares that come out on the screen. These addons or plugins are small applications inside Kodi. There are different kinds of addons or plugins for sports, music, and others.
Kodi offers a lot of addons or plugins, except it doesn’t have one for Apple Music. That shouldn’t stop you from using this particular home entertainment since there are ways to get Apple Music on Kodi. 
Part 2. Play Apple Music on Kodi with AMusicSoft Apple Music Converter.
Even if there’s no Kodi addon or plugin available to play Apple Music on it, there are still ways to work around it. For starters, you need to convert and download your Apple Music first so that you can transfer them to Kodi. There are three ways you can convert and download songs so that you can play Apple Music on Kodi. They’re listed below.
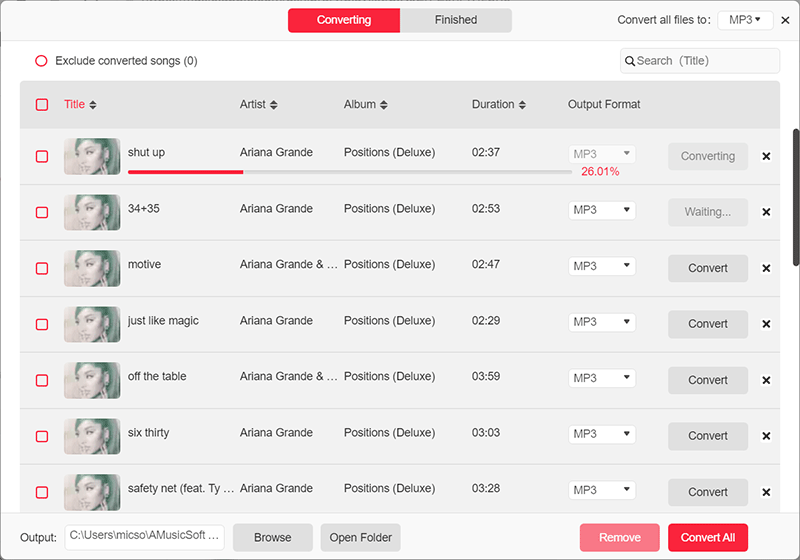
Converting and downloading Apple Music is easy with the use of the AMusicSoft Apple Music Converter. This is a powerful program that does not sacrifice the quality of your output. As a matter of fact, it can even enhance it.
Since it’s a single-window program, it’s very simple to navigate it. You will find al the features in just one window. Converting and downloading Apple Music will only take seconds with the AMusicSoft Apple Music Converter. The steps below will show you how to use it.
- Access the AMusicSoft Apple Music Converter
- Add Songs from Apple Music
- Enhance Output Settings
- Create a Destination Folder and Download
- Transfer to Kodi
To clearly understand how the AMusicSoft Apple Music Converter works, read the detailed steps below.
Step 1. Access the AMusicSoft Apple Music Converter
Unlike other third-party services, you will only find AMusicSoft Apple Music Converter on their secure website. This is not offered on any other website. Hence, it’s safe to use. Download and install it. Launch it to see the simple, one-window program.
Step 2. Add Songs from Apple Music
Considering you’re using the program to convert some songs from your Apple Music account, you’d think that you need to launch the app. The good thing about using the AMusicSoft Apple Music Converter is that there’s no need for you to open the Apple Music app.
Take your cursor to the left side of the screen and click on Music to prompt the songs to come out. Then choose the ones you want to convert. 
Step 3. Enhance Output Settings
When the songs have been added, you can enhance the output settings by choosing another file format. Keep in mind that when you choose another file format for your output, the DRM from the songs are automatically removed. That’s one of the coolest things about using the AMusicSoft Apple Music. It strips off the DRM for easy transfer of songs.
Step 4. Create a Destination Folder and Download
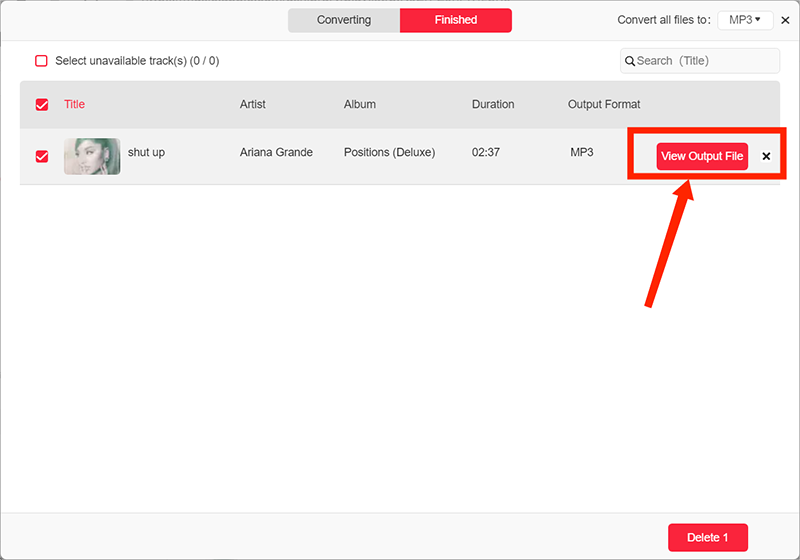
Make sure to create a destination folder for your output so that you won’t have a hard time finding it after download it. Just click on the Convert tab to download.
Step 5. Transfer to Kodi
Once the songs have been downloaded, launch Kodi on your computer. Click on Music. Then click on Files under Music. A new window will appear. Click on the Browse tab to search your computer for the songs you have converted and downloaded with the AMusicSoft Apple Music Converter. Once you have the songs, click on the Ok tab.
Part 3. Play Apple Music on Kodi Use iTunes
You can also use iTunes to convert the songs into MP3. Once they are converted into that format, you can easily transfer them to Kodi. Take a look at the steps below to see how you can do it this way.
Step 1. Open iTunes
Go to iTunes and launch the General Preference window. Click on the Import settings on the lower part of the window.
Step 2. Choose the MP3 Format
When you see the Import Settings window on your screen, choose MP3 on the Import Using field. Then click the OK tab.
Step 3. Choose Song to Convert
Go your list of songs and choose the ones you want to convert to MP3. Click on File on the top menu and select Convert from the drop-down list. Another menu will appear. Select Create MP3 Version.
Step 4. Transfer Songs to Kodi
Once the songs have been converted to the MP3 file format, you can easily transfer them to Kodi. Paunch Kodi and click on Music. Then click on the Files tab. The Add Music window will appear. Click on the Browse tab to add your songs.
Part 4. Play Apple Music on Kodi Use a Free Apple Music Converter
Here’s another program that’s free to use. It’s called the Free Apple Music Converter. The steps below will show you how to use it.
- Search for it online to get to the website. Once you’re there, click on the green Download tab.
- Launch the program and click on the iTunes Media tab. Then change the format on the Format field.
- Click on the Start tab to convert and download the songs. Then transfer songs to Kodi.
Part 5. Conclusion
Kodi is a great home entertainment program to use. Thanks to programs like the AMusicSoft Apple Music Converter, it’s possible to play Apple Music on Kodi. Have you ever tried using Kodi? Feel free to share your thoughts on it.
People Also Read
Robert Fabry is an ardent blogger, and an enthusiast who is keen about technology, and maybe he can contaminate you by sharing some tips. He also has a passion for music and has written for AMusicSoft on these subjects.