How To Copy Playlist From iPod To iTunes [Quick Methods]
Imagine that you have been creating your own playlist on your iPod and you suddenly had the idea of transferring it to other devices and other platform like iTunes, but you seem clueless on how you can copy playlist from iPod. This is surely very frustrating on your part, since your streaming session will be interrupted. Some of us would try the usual drag and drop or the copy and paste method, but there are times that these procedures won’t work. This is expected especially if you do not have an idea about the complete guide to follow when it comes to the process on how to transfer playlists from iPod to computer.
With the help of this post, rest assured that you are covered as the detailed procedure about how to transfer playlists from iPod to iTunes will be tackled here.
Contents Guide Part 1. How to Transfer Playlist from iPod to iTunes?Part 2. How to Transfer Playlist from iPod Without iTunes?Part 3. Summary
Part 1. How to Transfer Playlist from iPod to iTunes?
If you have tried the drag and drop method to transfer playlists from iPod to iTunes, I assume that you have encountered an error on transferring them. But you do not have to worry as there is still another way on how you can copy playlist from iPod. See the steps below.
- Via a compatible cable, have your iPod and computer connected with each other. After doing so, launch the iTunes app on your computer.
- Head to the Devices section next and then choose your iPod’s name.
- Go to your music library, browse the playlists and select the title that you wish to get copied.
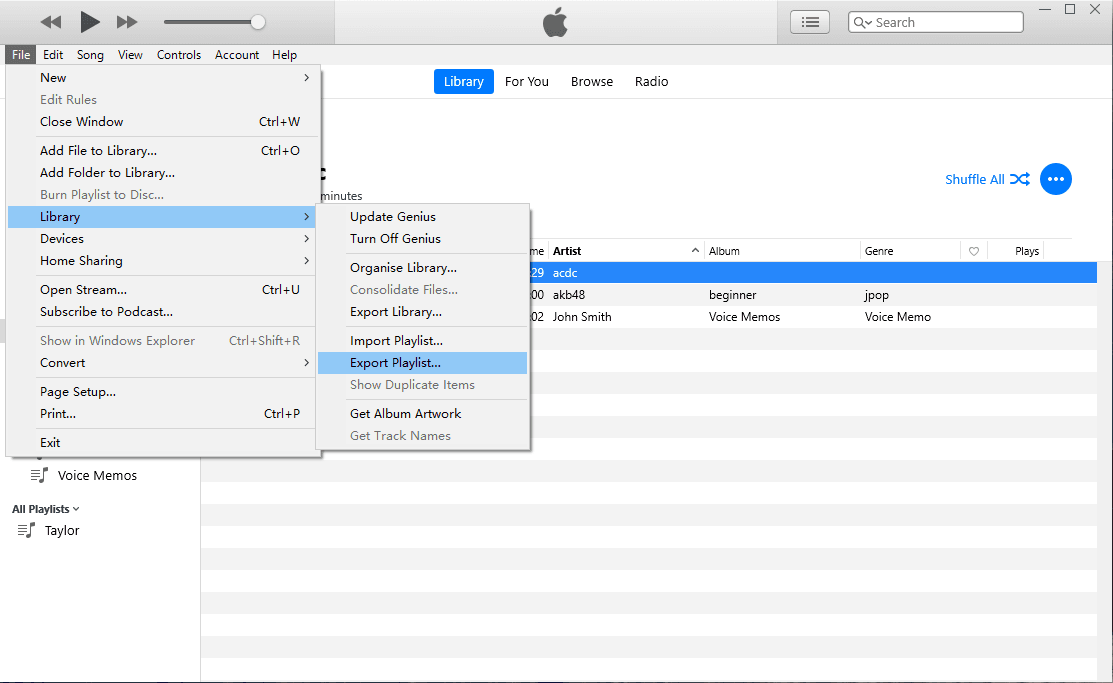
- Then click on the File tab to see the Library option. Hit it next and then choose Export Playlist option in the shown menu.

- Now, provide a name on the export to be made and make sure that the Save button is clicked in order to see the text file.
- Right after that, tap the Songs section under Library and proceed on selecting the File again. This time, after selecting the Library option, tap on Import Playlist instead.
- You should then select the text file saved a while ago. Wait for a while until the playlist are copied and are already showing on your iTunes library.
The only drawback of using this method is that you have to do the same set of steps for each single playlist. There is no way possible to copy multiple playlists from iPod to iTunes at once. If you do not want to do this procedure one by one, you may consider the set of methods discussed in the next section.
Part 2. How to Transfer Playlist from iPod Without iTunes?
As mentioned a while ago, apart from the official method via iTunes app, you can also copy playlist from iPod using third-party applications. Listed below are some of the most reliable tools to use for the said process. This is applicable even if you do not have an iTunes application on your device.
Method 1: AnyTrans
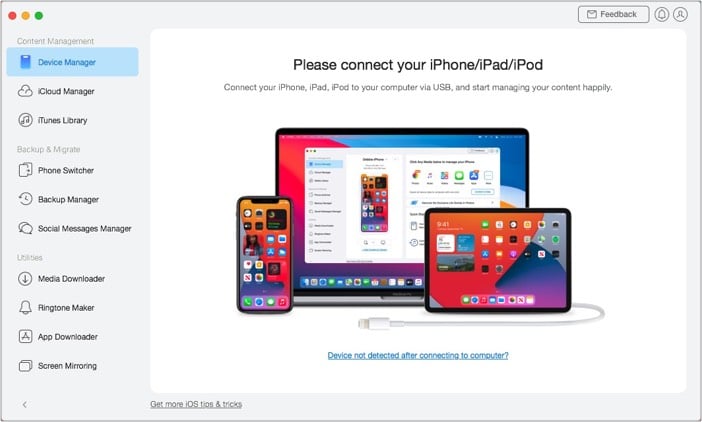
Some of you might be familiar already with AnyTrans as this tool is very much known for its capability to copy playlist from iPod as well as other data from any of your Apple device into your computer. All you need to do is to save this tool from its official website and then follow the user guide given to use the tool smoothly.

However, you must know that this tool isn’t free and its cost is a little bit pricey at $39.99 (single license) and $59.99 (almost unlimited license).
Method 2: iExplorer
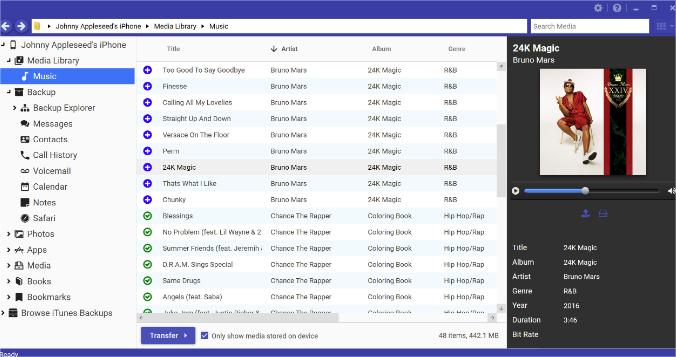
iExplorer is quite the same as AnyTrans. iExplorer aims to improve the way you browse and manage the contents of your iOS device. It does so by establishing an easier-to-work-with connection between your device and your computer. It lets you easily and intelligently transfer your music, texts, and other files to your computer and even iTunes accounts. Also, it comes with a disk mounting feature that allows you to use your iPhone, iPod, or iPad like a USB flash drive.

Just go to its website, download the app, and use a cable to connect your iPod and computer. By just simply hitting on Auto Transfer, all of your selected playlists will be copied into your computer at once. For the free version of this app, expect the occurrence of ads. Sudden crashing of the app is also one thing to watch out when using this app.
Method 3: AMusicSoft Apple Music Converter
The next method is AMusicSoft Apple Music Converter. This tool will not only help you copy playlist from iPod to iTunes, but it will also help you in transferring them into other devices such as other music players available for you. So, if you wish to use any device that you want to stream your saved playlists on iPod, AMusicSoft will be of so much help.
AMusicSoft Apple Music Converter is capable of conversion and download procedures. This can also remove the iTunes DRM protection from the files allowing you to proceed on getting the formats of MP3, FLAC, WAV, AAC, AC3 and M4A. The mentioned formats are all accessible in most devices, so streaming, for sure, will be unlimited and unrestricted. So you can enjoy iTunes on Xbox One, Alexa, PS4 and more media devices.
Another good factor about AMusicSoft is its 16x faster speed that can finish all procedures in just a short time. It can also guarantee the users that all the resulting converted files are of the same quality with the original. To add more, the procedure to follow is only simple that even beginners can understand quickly.
Here is how to use AMusicSoft Apple Music Converter in converting and downloading music files.
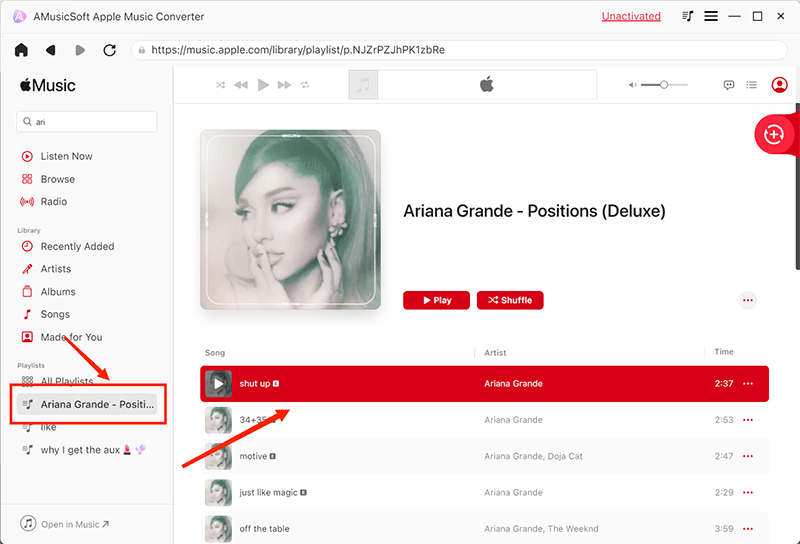
- Launch your browser to search for the website of AMusicSoft. From here, select the Download button right under the Apple Music Converter and proceed with installation once it is complete.
- Open the music converter and then upload the titles to convert by simply selecting them from your music collection.

- Choose the format of conversion along with the output folder.

- Tap the Convert button and allow the process to begin.

- Download the results from the Converted menu.
Part 3. Summary
To copy playlist from iPod, there were a lot of available methods to consider using, but of course, each of them have their own strengths and drawbacks. Based on above’s discussion, you may use the iTunes app or use the alternative tools available. When selecting, make sure to use the most convenient method for you. Among the discussed, I would recommend AMusicSoft Apple Music Converter. This can convert and download all of your desired playlists and tracks
People Also Read
- GarageBand Guide: How To Edit Songs In Garageband
- Downloading And Burning Music To CD Via Multiple Methods
- Best Tips On How To Make Apple Music Shuffle Better
- What Does Create Station Do In Apple Music?
- Home Sharing Not Working On Apple TV: How Do We Fix It?
- Quick Ways To Fix iCloud Music Library Not Showing On iPhone
- How To Stop Apple Music From Automatically Playing?
- Let Us Learn How To Crossfade On Apple Music
Robert Fabry is an ardent blogger, and an enthusiast who is keen about technology, and maybe he can contaminate you by sharing some tips. He also has a passion for music and has written for AMusicSoft on these subjects.